Live editing of LaTeX documents
Overview
Teaching: 30 min
Exercises: 30 minQuestions
How to use JupyterLab LaTeX extension?
How to compile LaTeX documents within JupyterLab?
How to generate LaTeX documents from jupyter notebooks?
Objectives
Learn about Jupyterlab LaTeX extension
Learn about the generation of LaTeX documents from jupyter notebooks
We have been using JupyterLab to keep our research work and are now ready to write a scientific paper associated with our computing results and for writing our paper, we will be using LaTeX.
JupyterLab extension for live editing of LaTeX documents
The JupyterLab LaTeX extension has already been installed in the VM. In case, you need to set it up on your laptop, follow instructions given here.
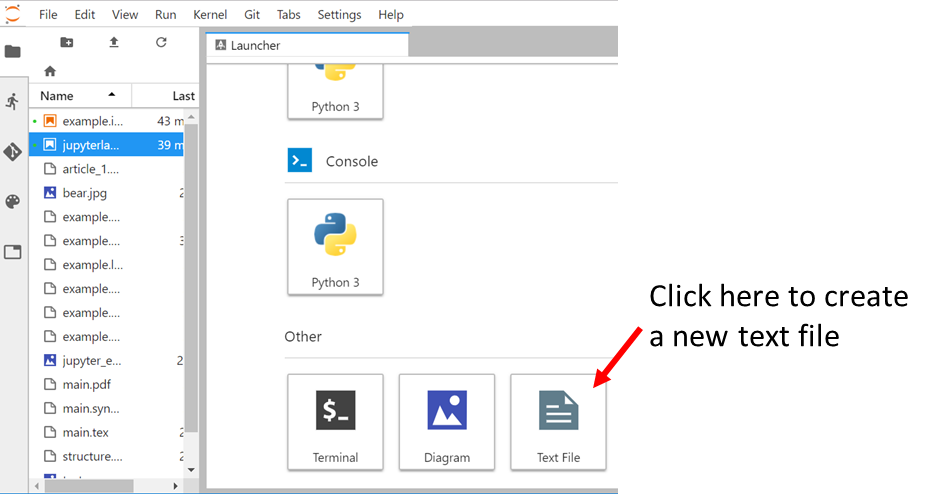
Create a new LaTeX document
- Create a new empty file
-
Rename it to
report_example.tex -
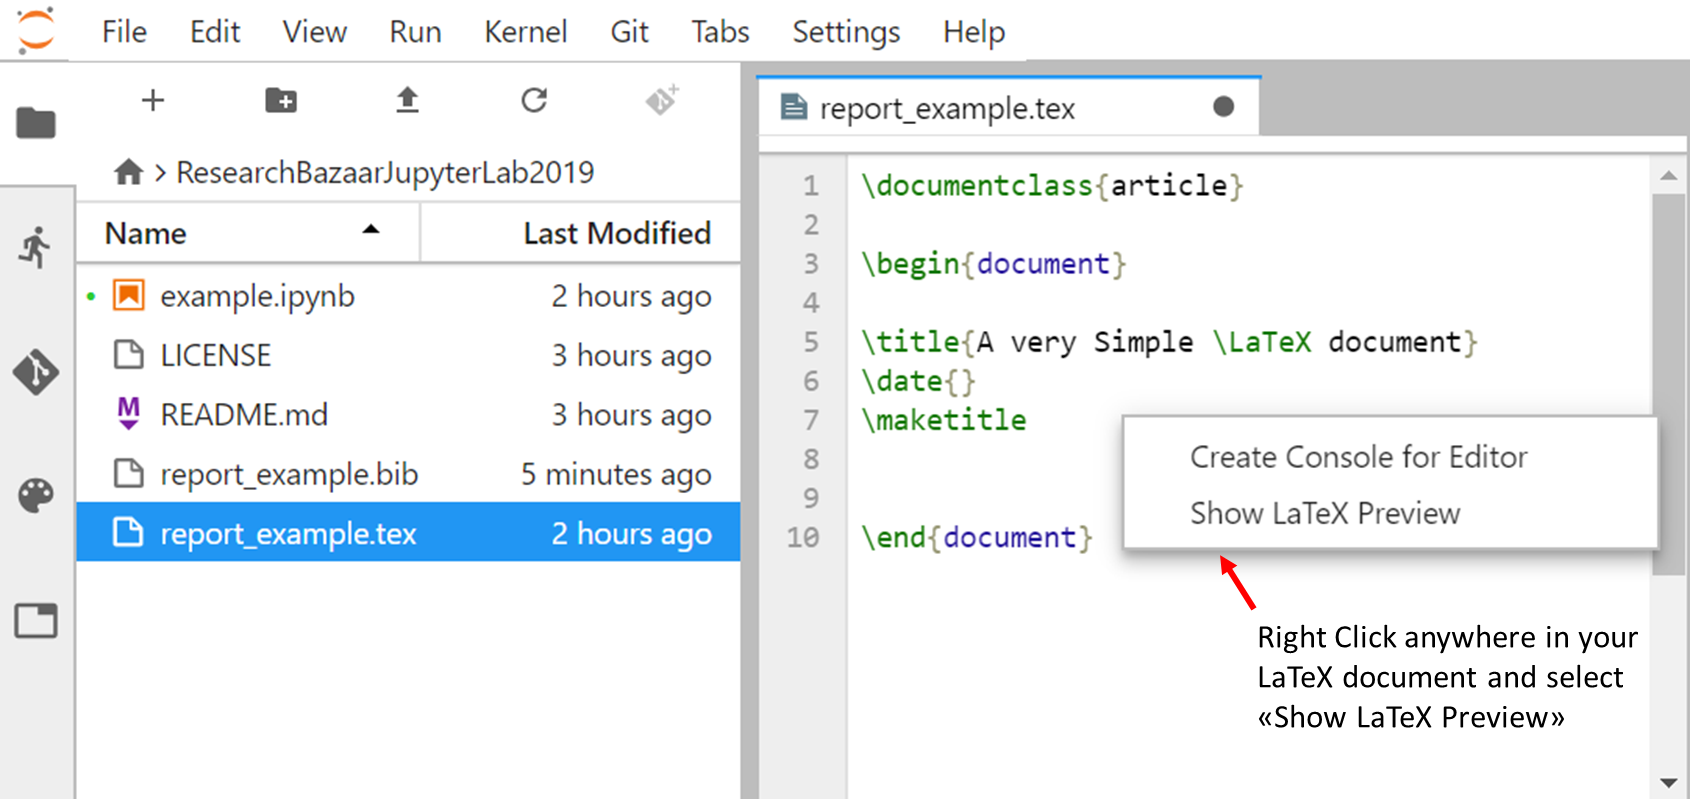
Then we will create a very simple LaTeX document and check it out with the JupyterLab:
\documentclass{article}

\begin{document}

\title{A very Simple \LaTeX document}
\date{}
\maketitle


\end{document}
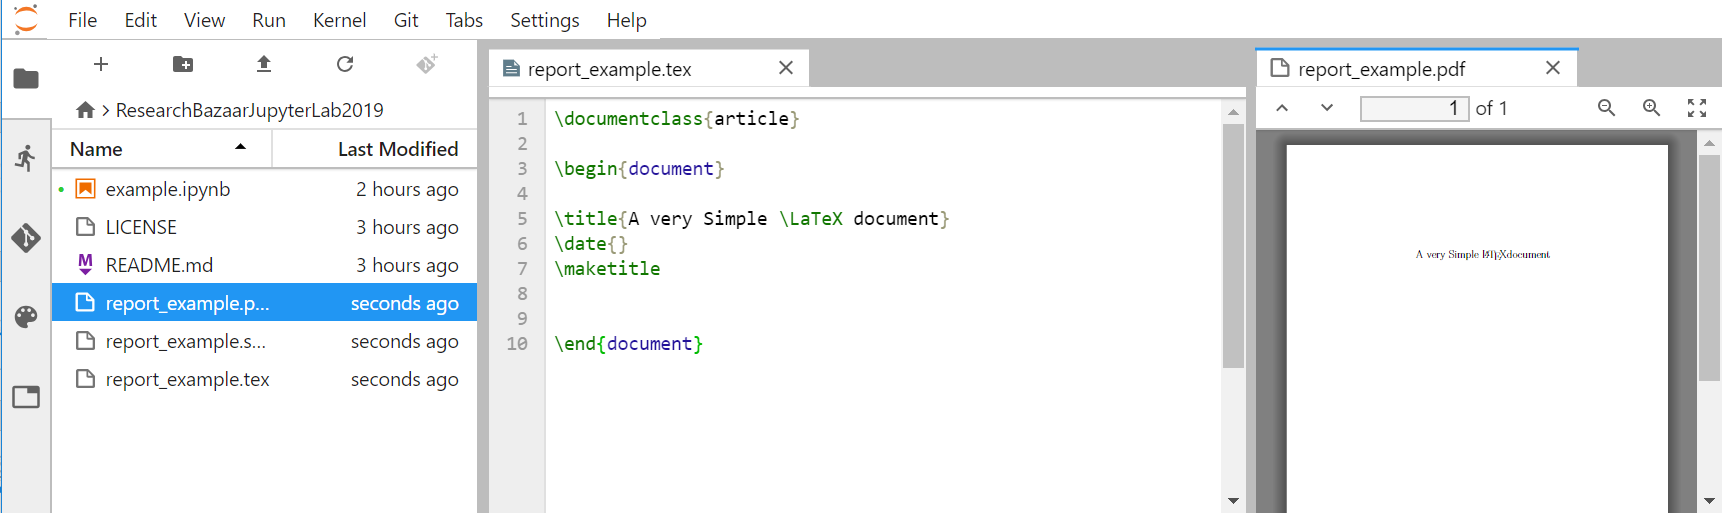
- Save it and then right click to select “Show LaTeX preview” as shown in the figure below:
The pdf preview of your document will appear on the right hand side of JupyterLab:
Update your LaTeX document
Add new sections in your LaTeX document. What happens?
Solution
The pdf document is automatically updated!
Add a bibliography (BibTeX)
Create a new bibtex file with at least one reference and reference it in
report_example.texSolution
In
report_example.bib:@article{einstein, author = "Albert Einstein", title = "{Zur Elektrodynamik bewegter K{\"o}rper}. ({German}) [{On} the electrodynamics of moving bodies]", journal = "Annalen der Physik", volume = "322", number = "10", pages = "891--921", year = "1905", DOI = "http://dx.doi.org/10.1002/andp.19053221004" }And in
report_example.tex:\documentclass{article} \begin{document} \title{A very Simple \LaTeX document} \date{} \maketitle \section{introduction} This document shows how to use BibTeX references. To cite the Einstein journal paper use \cite{einstein}. \medskip \bibliographystyle{unsrt} \bibliography{report_example} \end{document}See https://fr.overleaf.com/learn/latex/Bibliography_management_with_bibtex to get more examples.
Generate LaTeX from our jupyter notebooks
Being able to create LaTeX live documents with JupyterLab is great but we also need to make use of our jupyter notebooks so we can create a reproducible research work, share it and publish it.
Let’s go back to our jupyter notebook example and let’s create a nice LaTeX document from it.
- Close
report_example.texandreport_example.pdfand openexample.ipynb. - Add a new code cell at the end with the following information:
!nbpublish -f latex_ipypublish_all -pdf example.ipynb
- Execute this cell and check
converteddirectory. It should contain a list of files and in particular:- example.tex
- example.pdf
nbpublish can be called directly from your jupyter notebook or from the jupyterLab Terminal.
Cell inspector
It is sometimes convenient to inspect and modify metadata of a given cell. For instance, to ignore the cell where nbpublish is run:
{
   "ipub": {
    "ignore": true
  }
}
Add it in the metadata of the corresponding cell, as shown in the image below:
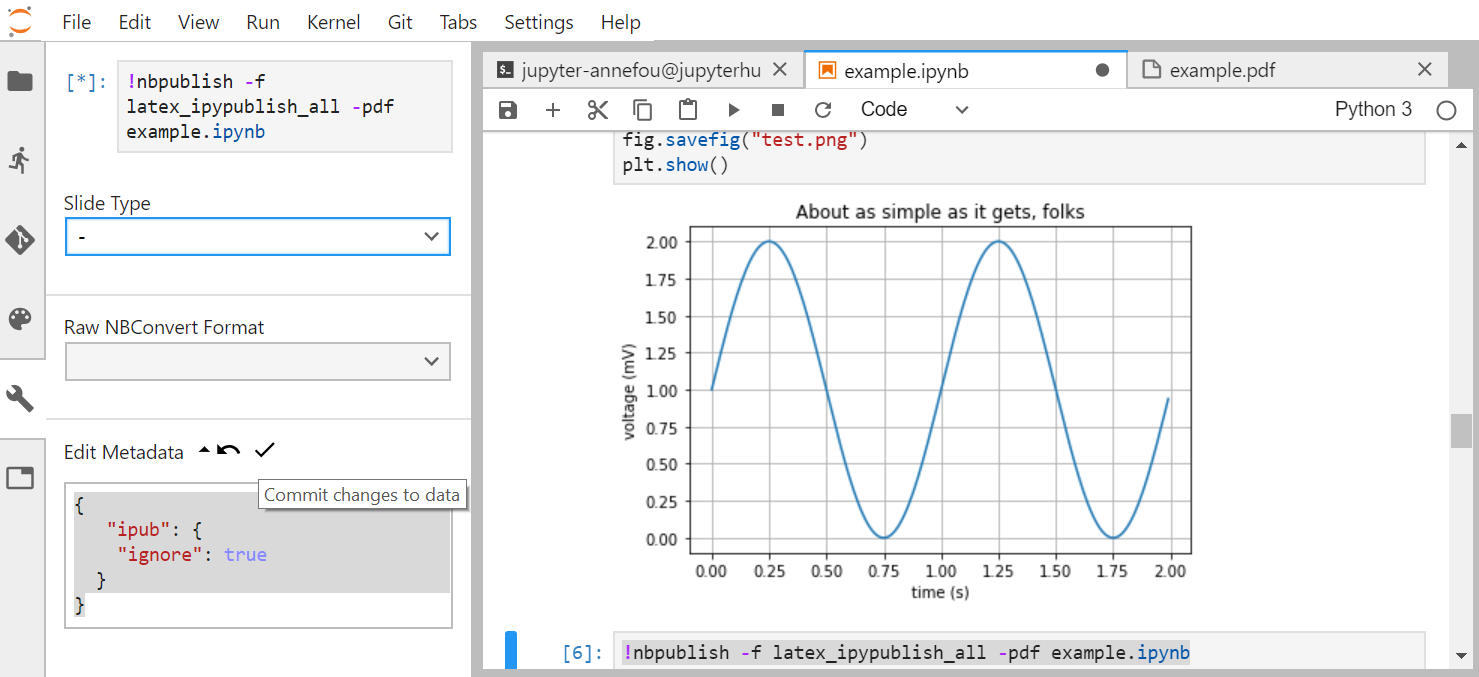
Do not forget to commit changes to data.
There are several options (not only latex_ipypublish_all) to generate and customize what you would like to see in your report.
Check the ipypublish documentation for more information. Please note that
the ipypublish python package is still under development (beta version avaiable only).
Add generated files into your Github repository
Add the updated example.ipynb, example.pdf, report_example.tex, report_example.bib and report_example.pdf to your Github repository
research-bazaar-jupyter-2019using JupyterLab git extension and/or JupyterLab Git Terminal.
Additional ipypublish example
In this short tutorial, all the functionalities of ipypublish are not demonstrated. However, feel free to browse the following example.
Combine our Jupyter notebooks and LaTeX documents
Now we can combine our jupyter notebook and our LaTeX document to generate a single publication ready scientific report.
A very simple way to combine them is to merge the pdf generated files. Create a new text file and rename it report_main.tex:
\documentclass{report}
\usepackage{pdfpages}
\usepackage{fancyhdr}
\fancyhf{}
\renewcommand{\headrulewidth}{0pt}
\pagestyle{fancy}
\rfoot{\thepage}
\begin{document}
\tableofcontents
\chapter{A chapter}
\section{Introduction}
\includepdf[pages=1-,pagecommand={\thispagestyle{fancy}}]{report_example.pdf}
\includepdf[pages=1-,pagecommand={\thispagestyle{fancy}}]{example.pdf}


\end{document}
Then generate the resulting pdf files (“Show LaTeX preview”).
Add generated files into your Github repository
As before, add report_main.tex and report_main.pdf to your Github repository
research-bazaar-jupyter-2019using JupyterLab git extension and/or JupyterLab Git Terminal.
Key Points
jupyterlab LaTeX extension